
How to turn a sketch into a 3D model
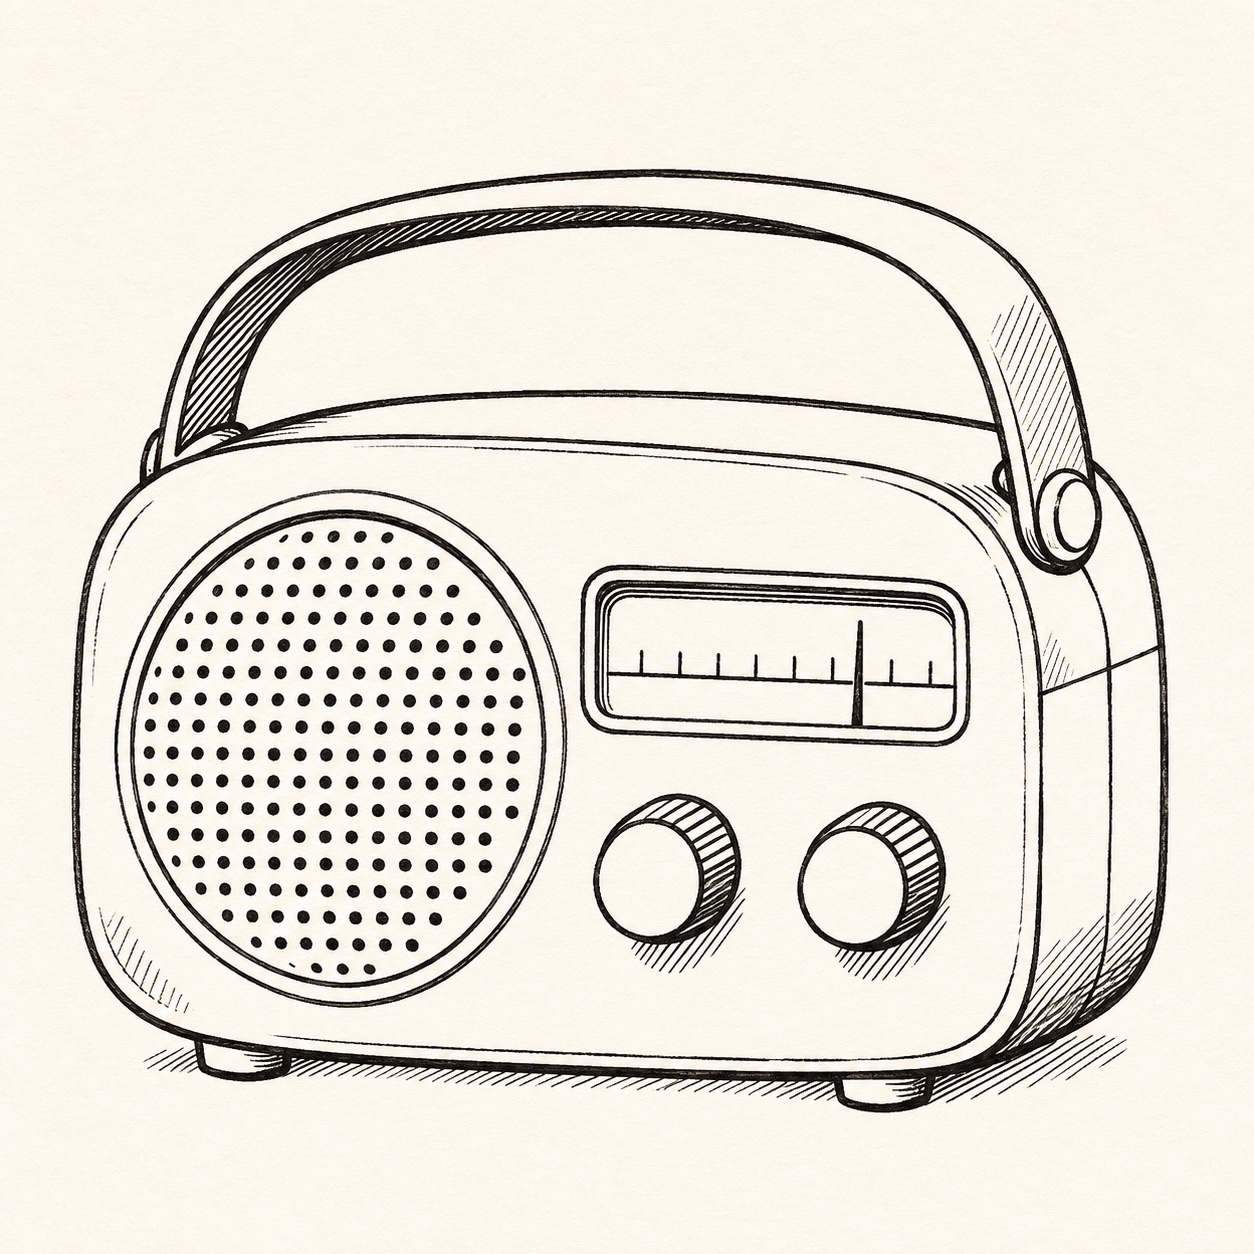 Input image
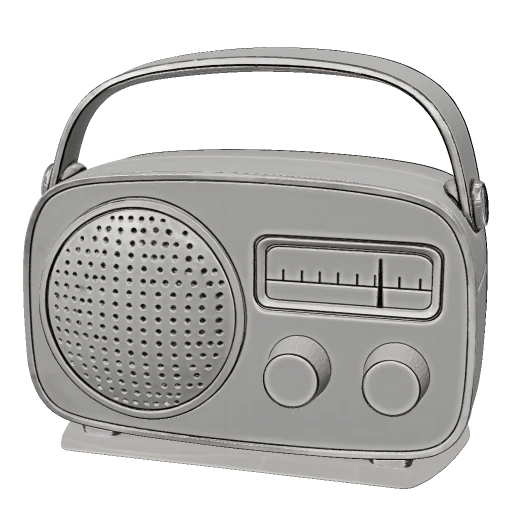 3D model
A handle is a useful first test for sketch-to-3D. In the radio drawing, two outlines describe a loop and the blank paper between them describes a hole. A front-facing render can look convincing even if that hole closes at the back.
1. Give the object a readable outline
Start with the radio drawing. The top and right side show the depth of the case. The knobs project from the face, and a strip of blank space separates the handle from the cabinet. For your own sketch, leave a margin around the object and remove dimension arrows or neighboring sketches before uploading.
2. Choose a first pass in Studio
Open Image to 3D and choose the drawing. Review the credit quote before generating. Geometry only is useful if you plan to shade the model yourself. Choose a textured setting to see what happens to the ink marks as well as the shape. The radio in our gallery was generated with HD texture and standard geometry.
3. Rotate past the reference angle
Open the interactive radio example. Turn it until you can look through the handle, then rotate a little farther to see where the handle attaches. Check each knob edge-on. A dark ring on the front face can suggest depth even when there is little projection.
If a knob looks flat, try drawing it at a slight angle so its side is visible. If the form reads well but your ink pattern looks soft, compare the texture settings before spending credits on another generation.