
Multi-View to 3D Model Generator from Photos
Turn photos of the same object into one 3D model. Start with the front and add angles that reveal its depth, back or side details. Preview the mesh before downloading.
Compare front and side references ↓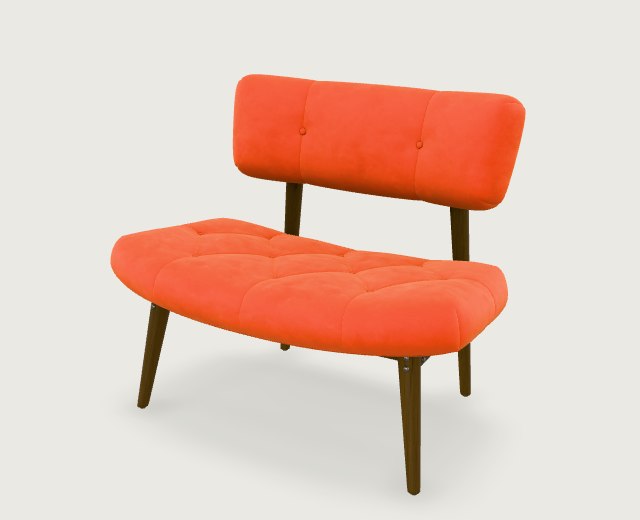
Which photos should you use for multi-view to 3D?
Choose the side you consider the front and keep that orientation throughout the set. Add a photo when it reveals a feature you want the model to preserve. These renders show how the same chair communicates different information from two directions.
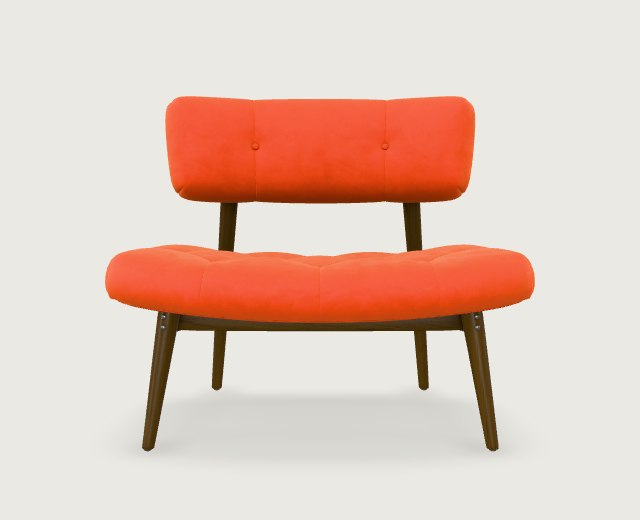
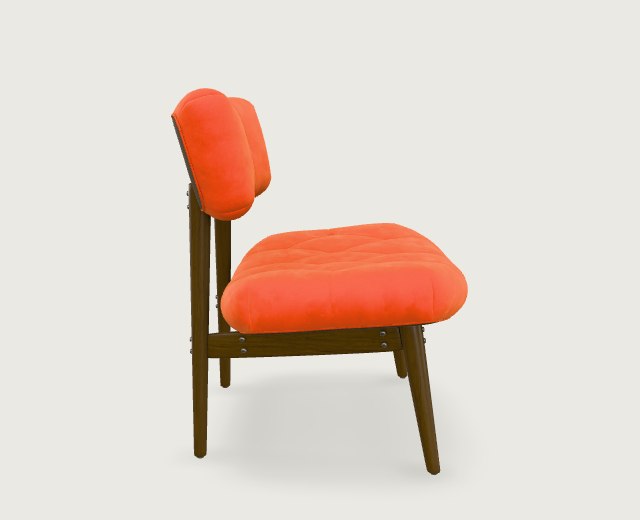
Try the two files in the matching slots above. Both are views of the CC0 Sheen Chair by Eric Chadwick / Wayfair.
How to turn multiple photos into one 3D model
Keep the object in one configuration
Place it against a simple background, keep the whole outline in frame and use even light. If a box is closed in front view, keep it closed in every other shot. A change of pose between pictures can give conflicting shape cues.
Match each image to its slot
Start with Front. Add Left, Back or Right where available. Keep the camera height and subject size similar. If you have front and back views only, put the rear photo in Back and leave Left empty.
Review the part the extra photo reveals
Continue to Studio, review the quote and generate one model. Rotate it to the supplied side angle. On the chair, compare the seat depth, the curve of the frame and the contact points under its legs. Check the underside separately if it was hidden in your photos.
Multi-view generation costs and model quality
One set of views produces one model. The selected quality determines the credit cost per generation. Adding another angle to that set leaves the quote at the same tier.
- Geometry only
- 4 credits
- Standard · textured
- 6 credits
- HD texture
- 8 credits
- HD texture + detailed geometry
- 12 credits
If the rear shape is wrong, look for a photo that shows that surface. If the form looks right but the surface pattern is soft, review the geometry and texture options.
Multi-view to 3D questions
How many images do I need, and which formats work?
One front image is required. Add up to three more images for left, back and right. Each can be a JPG, PNG or WebP up to 2.9 MB. A front-only submission runs as single-image generation. Compare reference image framing.
Can I upload different objects in the four slots?
Use one subject per set. For example, combine the front and side of the same toy tractor. To make a tractor and a separate trailer, submit a set for each object.
Does the model reproduce the original measurements?
The model estimates shape from the references. Measure the physical object independently if dimensions matter, then check and scale the downloaded mesh in your editor.
How do I download the result?
Open the completed job in Studio or History and download the available model while its link is active. GLB preserves a textured result; STL export provides the surface geometry for supported GLBs. Compare the two formats.